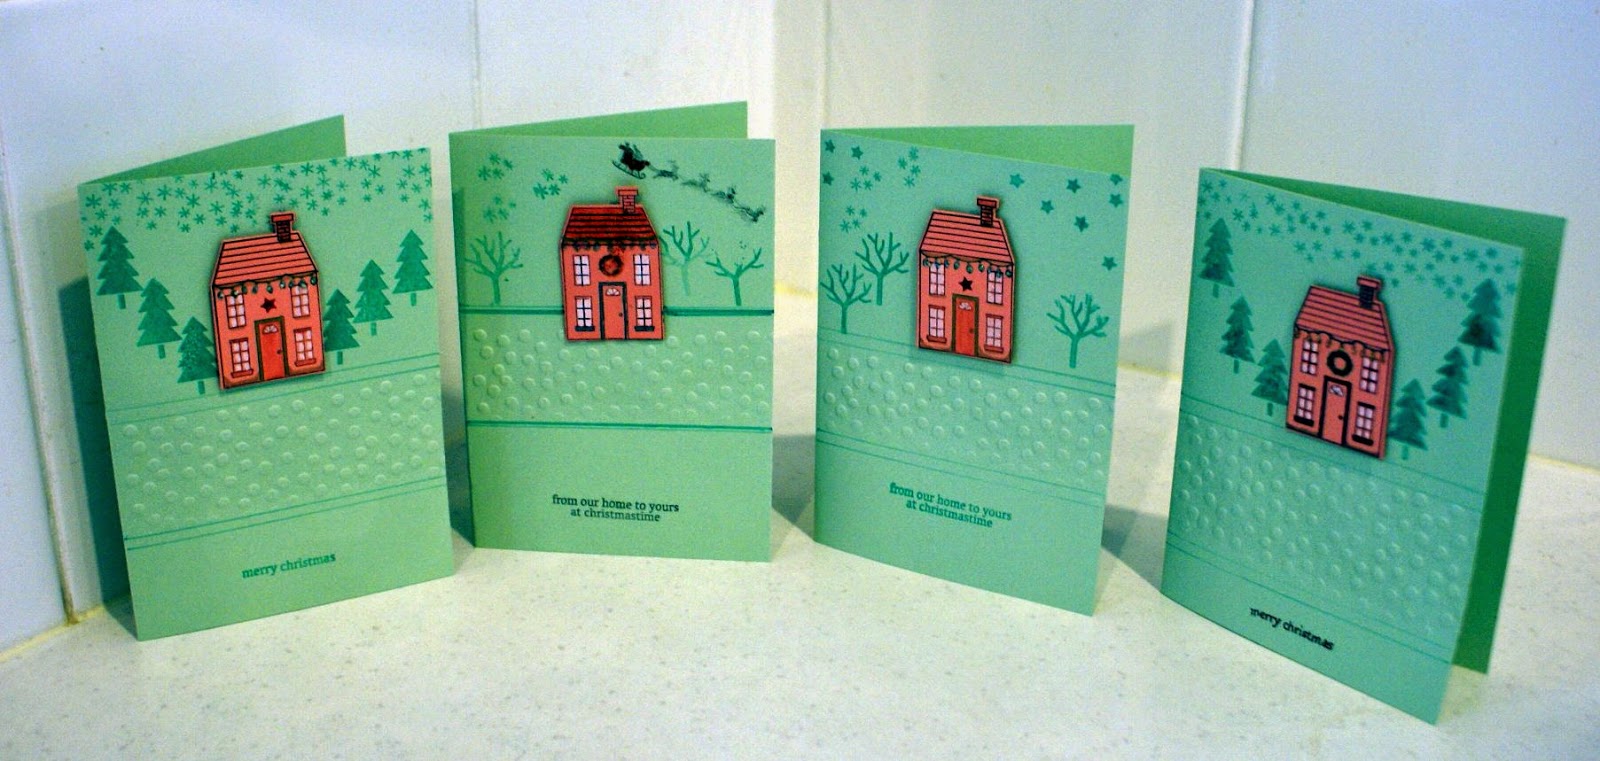
We made two (all Stampin' Up!) projects this time. The first one was a simple Christmas card with cute little houses and imaginative backgrounds. Thanks to Gina K for the embossing sketch idea:
We masked the embossed band area and sprayed it with Shimmer Mist created by adding some retired Stampin' Up! shimmer paint to some Isocol alcohol and shaking it up in a small spray bottle with a fine nozzle.
Cardstock: Pistachio Pudding, Crisp Cantaloupe
Embossing folder: Decorative Dots
Stamps and framelits: Holiday Homes
Markers & inks: Coastal Cabana, Going Gray, White Stampin' Chalk marker, Gold Stampin' Dazzle marker, Garden Green marker
Accessories: Cherry Cobbler Dazzling Details
Next we played with the Curvy Keepsake Box die and various stamps to make some cute treat boxes. I have so many more things to try with this sweet little box shape!
NOTE: If you are going to emboss vellum cardstock, you might need to use another layer of vellum (a vellum shim) inside your embossing folder to avoid having split vellum. If you get a small split, you can 'repair' it with a little doubles sided adhesive. On the inside, use a piece to repair the split, peel off the backing and remove the stickiness by puffing it up with the Embossing Buddy. It practically disappears! Thanks, Embossing Buddy! :)
This vellum Curvy Keepsake box was stamped in Blackberry Bliss with the Ornamental Pine stamp set. We tied silver ribbon on it and added some more vellum die cut tags stamped in Real Red ink. We also placed a battery operated tea light inside it (also not from Stampin' Up!) Imagine this one gracing your Christmas table settings!
Whew! That was enough fum for one morning! lol! Not really. I went on to add a few more touches to the plans fro our Tuesday class, where more Christmas projects and a mini album will be created.
Stay tuned!


6 comments:
Susan ,I love all your projects the house is lovely and the little gift box is gorgeous .Your friends are so blessed having you do all these lovely things for them .xx
Oh my goodness Susan, I love what you did with your class, wish I was with you as you do such lovely things. The little boxes are so cute and I too love the houses and the embossing...
Love ~ Lady Anne xxx
Second attempt! Lovely boxes. Xx
That one seemed to go :). I thought the boxes would like nice around the Christmas table with a few chocolates in. I don't have a die cutting machine, but I might be able to find a template.
Beautiful Christmas cards you made and the boxes are lovely! =)
Hugs, Elenor
What a terrific lot of fun you must have all had making these. I am not sure which keepsake box I like the best?! They are all so good. Can't wait to use mine. Thanks for the tip about the vellum. Will have to remember that. Vx
Post a Comment